signNow templates
Send documents or groups of documents for signature with the signNow Templates button.
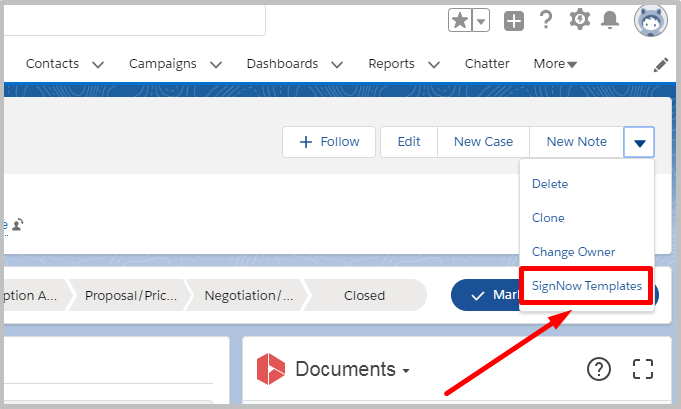
- In your object, click on the signNow Templates button.
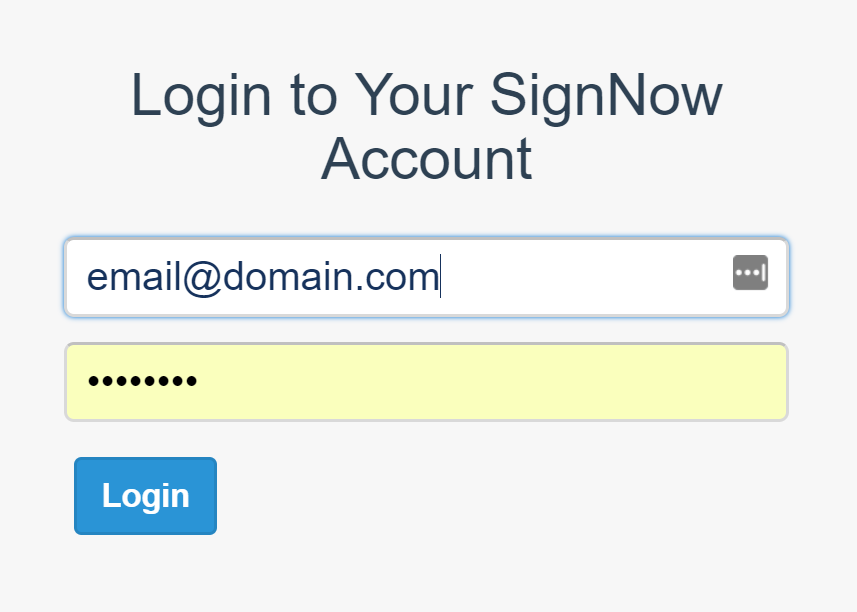
- If you are not logged in to signNow, you will be able to log in with your existing credentials. If you don’t have a signNow account, complete the simple registration process on https://www.signnow.com/ and then log in with your credentials.
- Click on the template you'd like to send from the list.
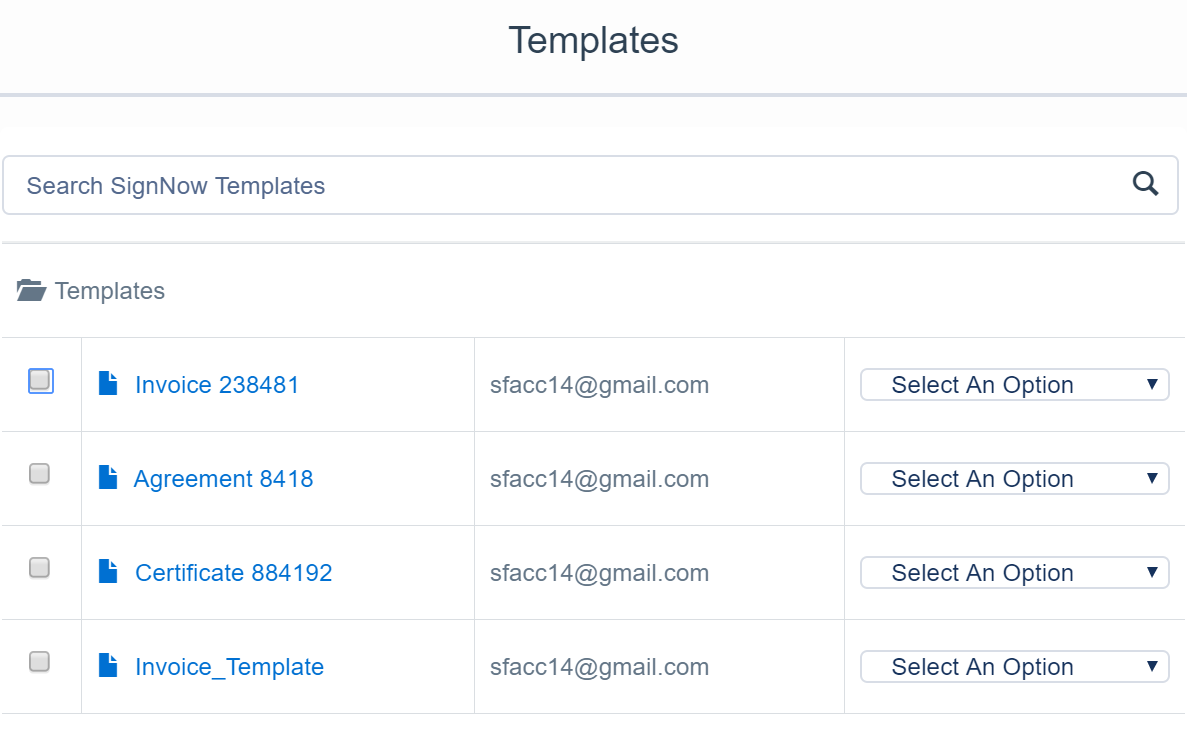
3.1. Alternatively, from the options dropdown menu select Edit Template to edit the template in signNow (add fillable fields, checkboxes, radio buttons, etc.) if you would like to edit it before sending.

Note that you should reload your signNow application by clicking Reload after every edit made to a document in order to apply your changes.

Select Salesforce Annotations to add Salesforce annotation fields to your document in signNow if needed.

Select Salesforce Data Binding to pre-fill the template with data form the Salesforce record or to update the Salesforce record’s fields when the document is filled.

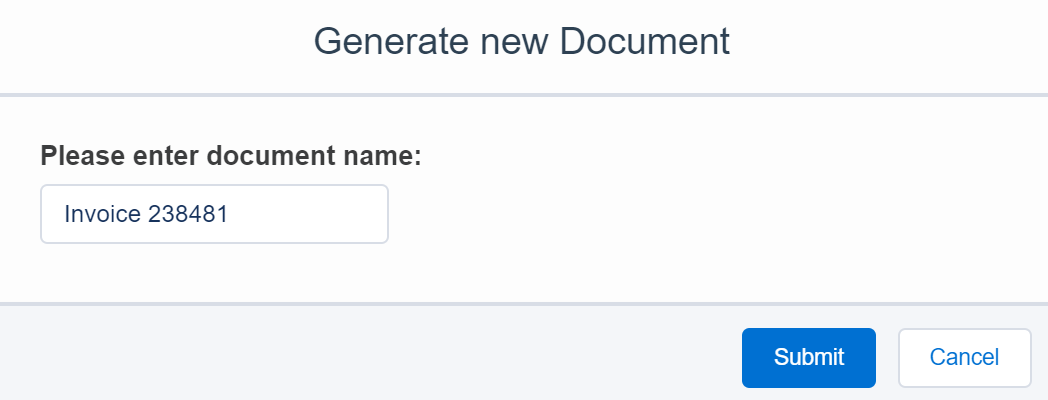
- Enter a name for the document being generated and click Submit.
- Preview a document prior to sending by clicking its name. The document will open in a new window with Salesforce Annotation fields filled.
When finished, enter a recipient’s email, specify recipients in the CC field to receive notifications once a document has been signed, and add a subject and body if needed.
When finished, click Send.
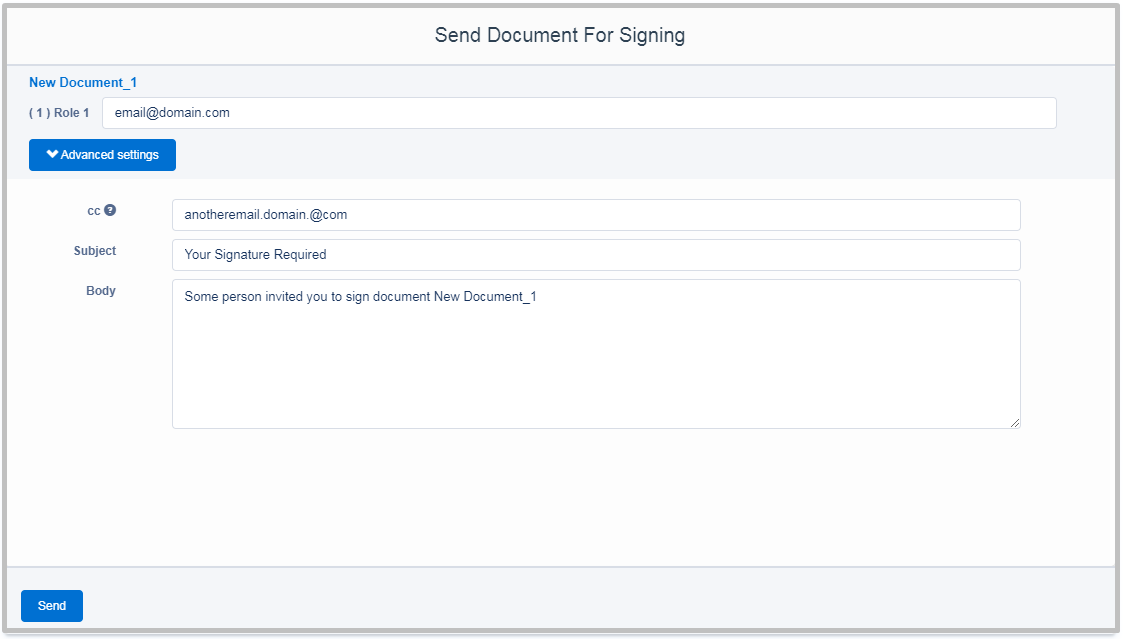
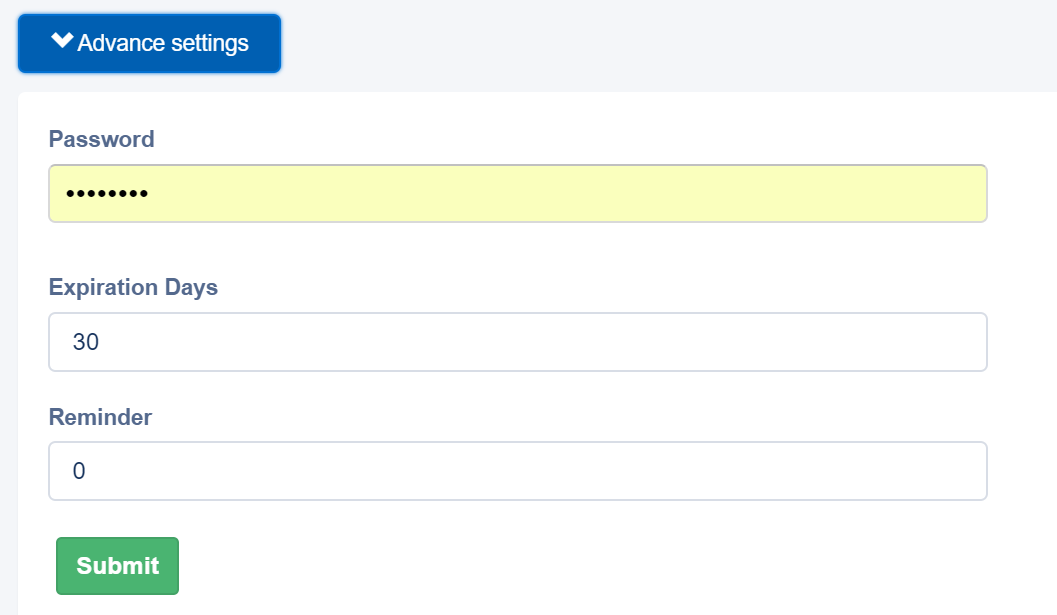
5.1. Use Advanced settings to password protect your document, set an expiration date and enable reminders for your recipients.
- To send a group of documents, select several documents by checking the boxes next to them and click Generate Document Group.

Enter a name for your document group and click Submit.

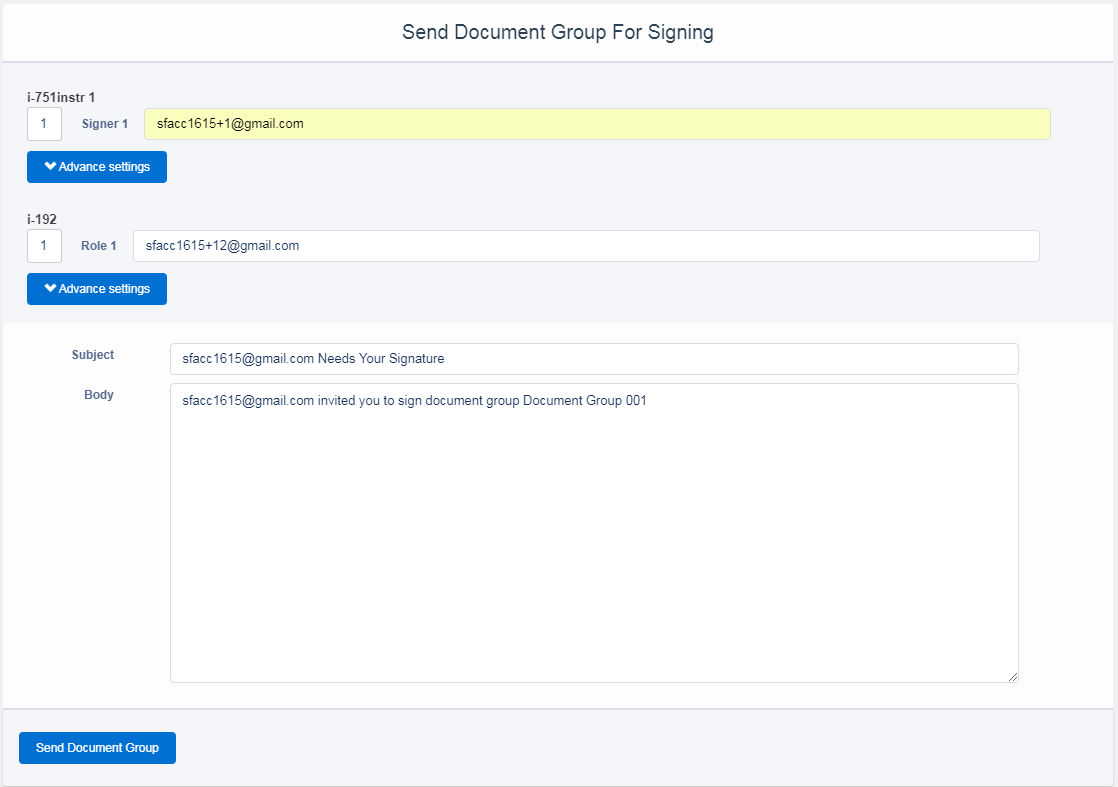
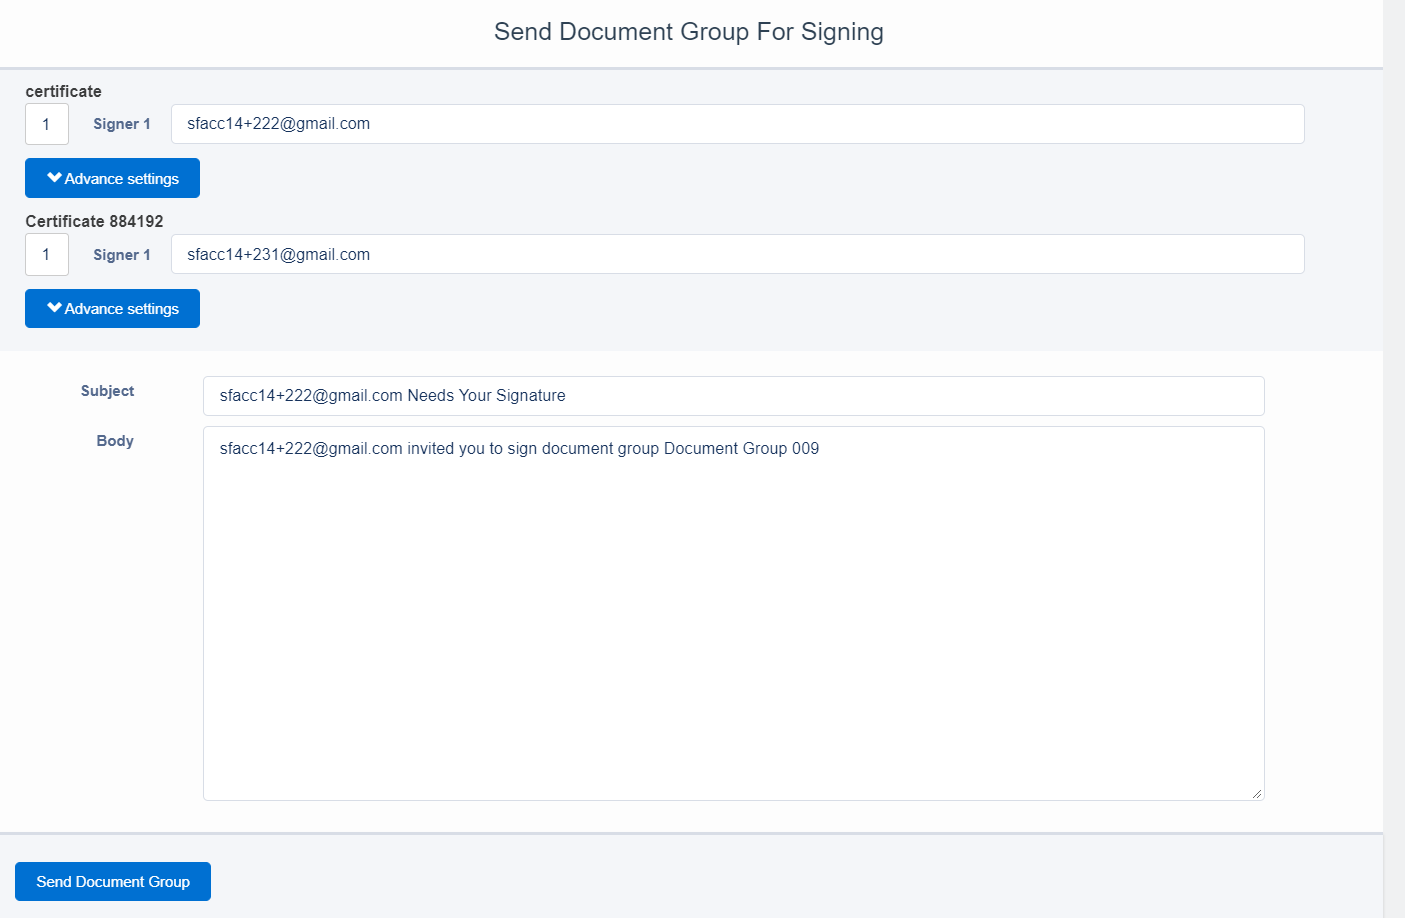
Enter recipient email addresses and add a custom subject and body if needed.
Specify the order your signature requests will be sent in by selecting the value next to the Signers. All subsequent requests will be sent after the previous recipient has signed the document.
Use Advanced settings to password protect your document, set an expiration date and enable reminders for your recipients.
When done, click Send Document Group.
Click Show Document Group Template to proceed to your signNow Document Group Templates list.
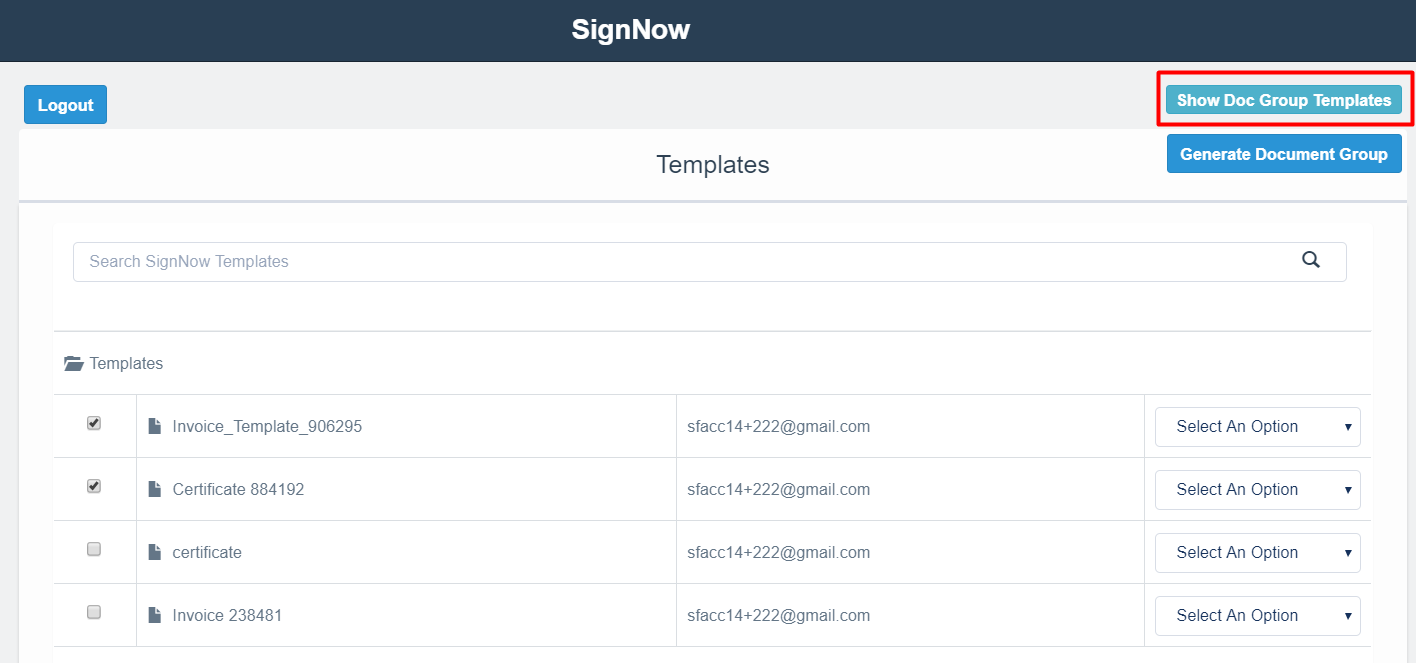
You can edit any of the templates in the group, add Salesforce annotations or bind data before sending it. Click on the drop-down arrow next to a proper template and select an option you would like to use.
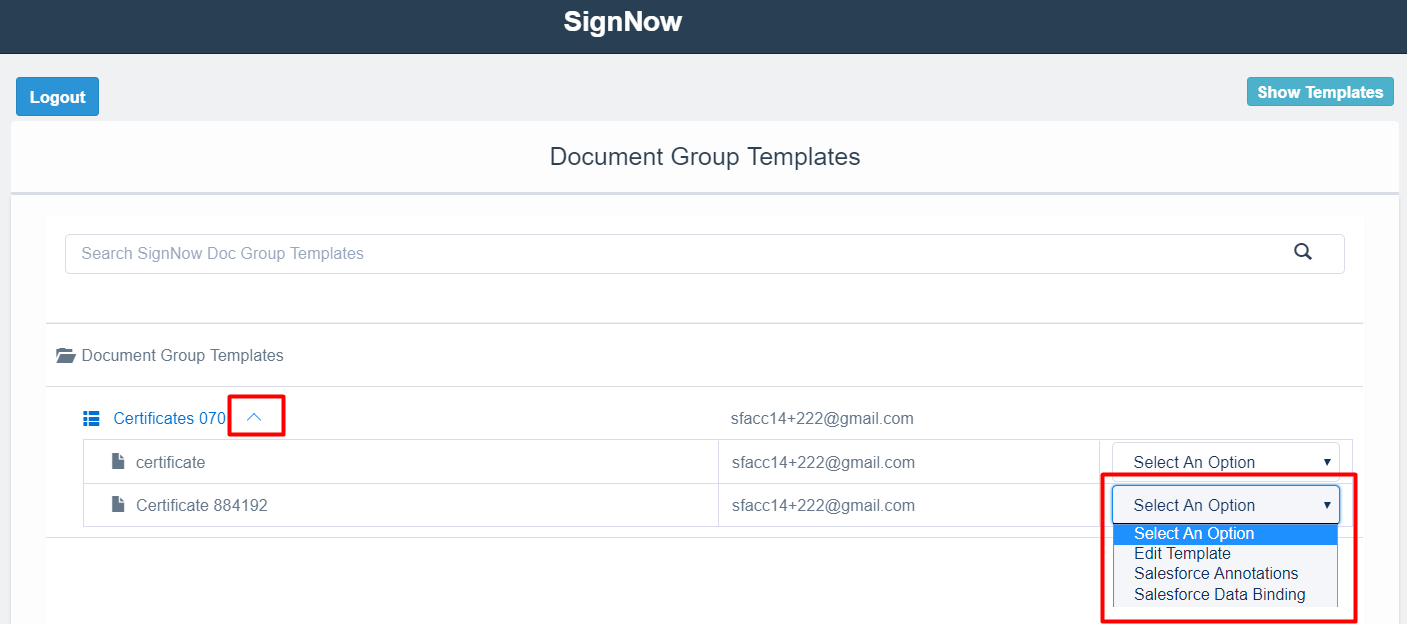
To send a signature request for a Document Group Template, click on it.

Enter the name for your document group and click Submit. Note that you should add proper fillable fields and set roles for all templates in the group first, otherwise the new document group won’t be generated.

Change or add emails, set advanced settings, add a custom subject and body if needed. When done, click Send Document Group.
Updated almost 6 years ago
